Introduction:
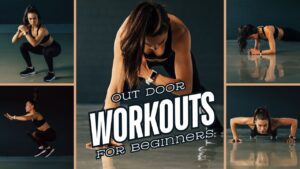
This blog will teach you about push-up, pull-up, and squat workouts. Bodyweight exercises have stood the test of time because they are simple yet incredibly effective. They require minimal to no equipment, making them accessible for everyone, whether working out at home, in a park, or at the gym. Among the plethora of bodyweight exercises, push-ups, pull-ups, and squats are three foundational movements that target major muscle groups, enhance functional strength, and improve overall fitness.
These exercises are not just about building muscle; they also improve endurance, mobility, and balance, making them perfect for those looking to enhance their everyday fitness. In this guide, we’ll explore the benefits of push-ups, pull-ups, and squats, delve into the correct techniques for each exercise, and show you how to combine them into a complete workout that will push your fitness to new heights.
Understanding the Basics:
Before diving into the specifics of each exercise, it’s crucial to understand why push-ups, pull-ups, and squats are so effective. These movements engage multiple muscle groups, promoting strength, coordination, and cardiovascular fitness.
Benefits of Bodyweight Exercises:
Bodyweight exercises are incredibly versatile and offer numerous advantages:
- No Equipment Needed: Unlike many other forms of exercise, bodyweight movements don’t require expensive equipment or gym memberships. All you need is your body and a little space to move.
- Full-Body Engagement: Each of these exercises targets multiple muscle groups simultaneously. For example, push-ups work the chest, shoulders, triceps, and core; pull-ups target the back, biceps, and shoulders; and squats focus on the quads, hamstrings, glutes, and core.
- Functional Fitness: These exercises mimic natural movements, improving your ability to perform daily tasks. For instance, squatting helps with sitting and standing movements, pull-ups strengthen your ability to pull or lift objects, and push-ups enhance your pushing strength.
- Scalability and Progression: Whether a beginner or an advanced athlete, push-ups, pull-ups, and squats can be adjusted to match your fitness level. Variations of each exercise make it easy to increase or decrease the difficulty as needed.
- Improves Mobility and Flexibility: Proper form when performing these exercises encourages better joint health, mobility, and flexibility, reducing the risk of injury in workouts and daily activities.
The Push-Up:
Everyone seems to be familiar with this exercise’s developmental and rehabilitative aspects. It is pretty effective for upper-body and midsection conditioning. The push-up is simple and self-explanatory; however, it will vary depending on the user’s fitness level.
Ideal Push-Up Flow and Its Wrongs:
Maximizing the push-ups requires one to stick to the following guidelines:
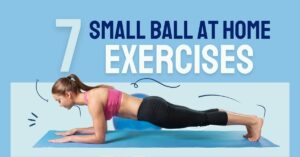
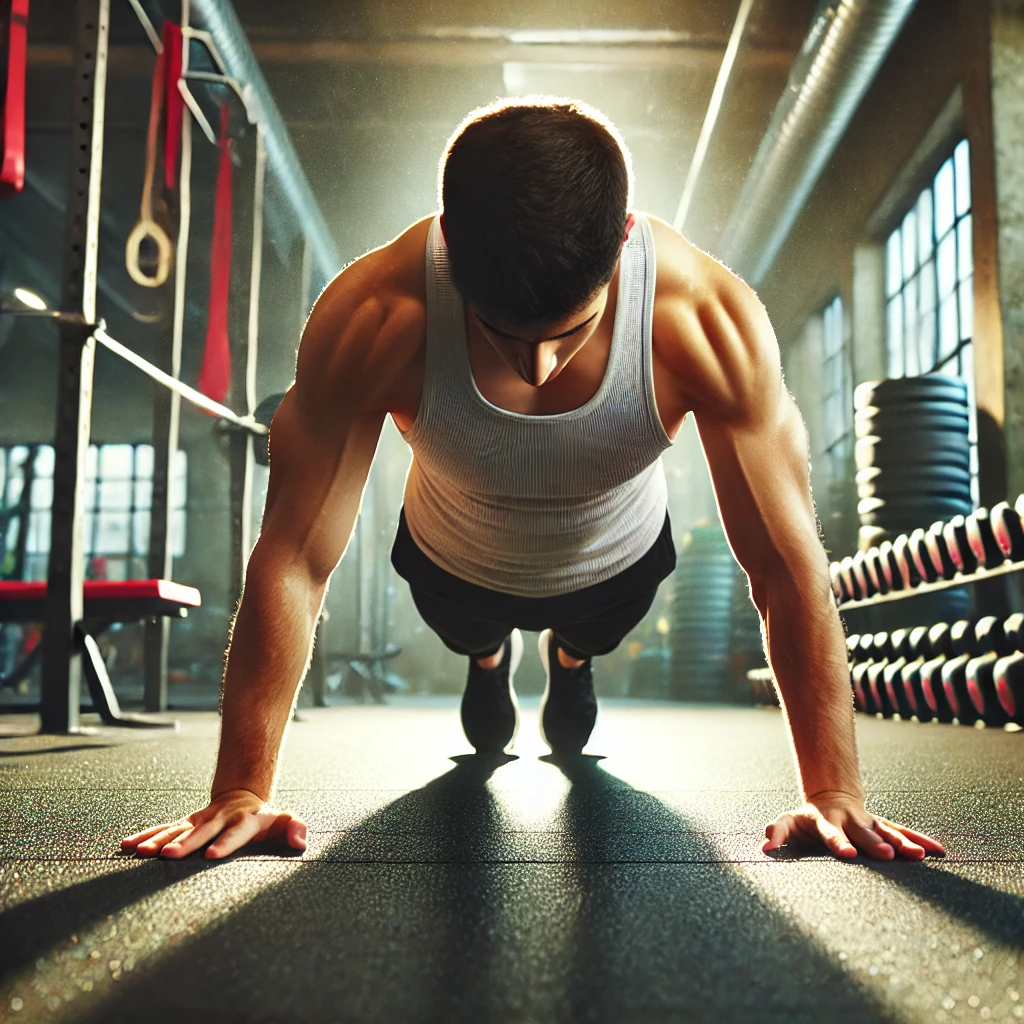
Assume a Starting Plank Position: Prepare yourself by placing both hands slightly wider than your shoulders on the floor. Ensure that a straight line runs from your head to your heels while your core and glutes are actively engaged.
Flexing route to the Floor: Now is the time to buckle down and bend your elbows, directing your chest towards the ground. Ensure that the forearms are tucked in, as pulling them out would be wrong. Almost make your chest touch the floor.
Push Back Up: Do not just let your body drop back. Use the strength in your palms to push the body back to the erect position. Remedy this problem by erecting your torso throughout the exercise, avoiding being sagged or increased.
Common Mistakes to Avoid:
Letting the Hips Sag: Usually, this results when the core is not tight, encouraging bad form and, therefore, back injury. Make an effort to pull in the abdominals in any way while carrying out any movements.
Flaring Elbows: When flaring your elbows, be careful not to let them go out too much; otherwise, your shoulders will be stressed too much. It would help if you kept your elbows no more than 45 degrees forward from the body.
Partial Range of Motion: You are not going low enough, and therefore, that would be why there is very little benefit to your push-up. Full range dictates pulling the chest down as low as possible without breaking the bicep.
Variations to Challenge Yourself:
Once you’ve mastered the standard push-up, try these variations to add intensity and target different muscle groups:
- Knee Push-Ups: This variation is excellent for beginners as it reduces body weight when lifted. Start on your knees instead of your toes, maintaining a straight line from your knees to your head.
- Wide Push-Ups: Placing your hands wider than shoulder-width increases the activation of your chest muscles.
- Plyometric Push-Ups: Add an explosive jump at the top of your push-up to enhance power and coordination. This dynamic movement also serves as an excellent cardio boost.
- Diamond Push-Ups: Place your hands together under your chest, forming a diamond shape with your thumbs and index fingers. This variation emphasizes the triceps.
- Archer Push-Ups: At the bottom of the push-up, shift your weight to one side, extending the opposite arm to the side. This version increases the difficulty by emphasizing unilateral strength.
The Pull-Up:
They are excellent for developing back and bicep muscles, shoulder stabilization, and improving grip strength. However, considering the strength one needs to use, they can be quite difficult, particularly for first-timers.
Mastering the Perfect Pull-Up:
Achieving the perfect pull-up takes time and patience, but mastering the correct technique is essential:
- Grip the Bar: Attach the bar just above your head with your palms away from your face (overhand grip) and your fists placed wider than shoulder length.
- Engage Your Core: Tighten your core and keep your legs before you to prevent swinging. A stable core helps maintain a smooth, controlled movement.

- Pull Your Body Up: Pull your elbows towards the back of your body as you elevate your chin over the bar. Don’t use body motion for this; instead, use muscular strength of your upper body.
- Upper the Body Ending Slowly: In a controlled manner, return to the beginning position from where you were in the bent-over position by fully straightening your arms. The importance of this eccentric phase should also not be underestimated, as it helps build strength.
Common Mistakes to Avoid:
- Kipping or Swinging: Using momentum rather than strength reduces the effectiveness of the pull-up and can lead to injury.
- Half Reps: Not fully lowering yourself before pulling up again diminishes muscle engagement and limits progress.
- Arching Back: Keep your core tight to avoid excessive arching, which can strain your lower back.
Assisted Pull-Up Options for Beginners:
For those who find traditional pull-ups too challenging, here are some ways to build up your strength:
- Resistance Band Pull-Ups: Loop a resistance band over the bar and place one or both knees inside the band. The band will provide support as you pull yourself up, making the exercise more accessible.
- Negative Pull-Ups: Jump to the bar so your chin is above it, then slowly lower yourself. This technique helps build the necessary strength for a full pull-up.
- Assisted Pull-Up Machines: These machines are common in gyms. They allow you to adjust the amount of assistance, making pull-ups more achievable while still engaging the correct muscles.
- Inverted Rows: If pull-ups seem impossible, you might try inverted rows. The chest is brought to the bar with the body straight as in a pull-up, using a low bar or TRX straps, targeting the same muscles that a pull-up would do.
The Squat:
Squats are an integral part of almost every bodybuilding program. As those positions actively use the most prominent muscle groups, the squat is one of the most effective workouts for legs’ power and muscularity.
Correct Squat Form and Avoiding Injury:
Maintaining proper form during squats is crucial to prevent injury and maximize muscle activation:
- Set Your Stance: For the starting position, stand with feet about shoulder-width apart and the toes pointed out slightly. This position is best for performing a squat and proper knee alignment.
- Lower Your Body: With your hips pushed back, lower down as if ready to sit on a chair while bending your knees. Throughout the exercise, keep your chest up and your back straight.
- Drive Up: Stand up again by pushing down with your heels and squeezing the glutes at the top of the body. Your knees should be pointed in the same direction as your toes and not fall in.
Common Mistakes to Avoid:
- Knees Caving In: This can cause knee pain and reduce the effectiveness of the squat. Focus on pushing your knees outward as you squat.
- Heels Lifting Off the Ground: Keep your heels flat on the floor to maintain stability and prevent strain on your knees.
- Leaning Too Far Forward: A forward lean can stress your lower back unnecessarily. Keep your chest up and your core tight.
Advanced Squat Variations:
- Jump Squats: Add a jump at the top of each squat for an explosive movement that enhances power and boosts cardiovascular endurance.
- Pistol Squats: This is an advanced form of squat done on one leg and places significant demands on balance, strength, and movement range. To begin, support can be used and then moved on to act without aids in balance.
- Goblet squats: A more challenging goblet squat variation, a kettlebell or a dumbbell is held close to the abdomen while lifting up and down the squat. This variation adds resistance and helps improve form by keeping the chest upright.
- Bulgarian Split Squats: Elevate one foot behind you on a bench and perform a squat on the front leg. This variation targets the quads and glutes intensely while improving balance.
Crafting the Perfect Workout Routine:
Combining push-ups, pull-ups, and squats into a single workout creates a balanced, full-body routine that targets every major muscle group. Here’s how to structure your workout to maximize results:
Combining Push-Ups, Pull-Ups, and Squats:
- Warm-Up: Spend 5-10 minutes of this segment performing dynamic stretching or light cardio. Mock jumping jacks, shoulder rolling, and marching on the spot with vigorous knee lifts will help warm your body and prepare you for the main activity.
- Circuit-Style Workout: Perform each exercise of the circuit separately, one set for each, and then move on to the next exercise. Take a brief break between the exercises for a few seconds to keep your heart rate pumping.
- Push-Ups: 3 sets of 10-15 reps. Adjust the variation to match your strength level.
- Pull-Ups: 3 sets of 5-10 reps. Use assisted variations if needed to complete the reps.
- Squats: 3 sets of 15-20 reps. Incorporate variations like jump squats for added intensity.
- Rest and Recover: Rest for 1-2 minutes between each round of the circuit. This allows your muscles to recover while keeping your heart rate elevated.
- Cool down: Finish with static stretching, focusing on the muscles you worked. Stretching helps improve flexibility, reduce muscle soreness, and promote faster recovery.
Progressive Overload and Tracking Progress:
To continue making gains, it’s essential to challenge your muscles progressively:
- Increase Reps or Sets: As you get stronger, gradually increase the number of reps or sets you perform.
- Add Resistance: To make the workout harder, incorporate weighted vests, dumbbells, or resistance bands with each exercise.
- Try Advanced Variations: Try incorporating more challenging variations of each exercise so the muscles keep adapting.
- Keep a Workout Log: Record the number of repetitions and sets and the resistance used in a workout log. Making progress will help you stay focused and help you see which areas need improvement.
Conclusion:
Push-ups, pull-ups, and squats in the workout are one complete way of strengthening, enhancing endurance, and improving overall fitness. These workouts can be done anywhere, need no additional equipment, and can be modified to suit any fitness level. By starting with the fundamentals, gradually increasing the challenge, and executing correctly, you will fully utilize your body and bring it to a new level. Take a leap of faith and incorporate this simple yet somewhat effective exercise, and you will quicken your cycle of building strength with notable confidence. some faqs for Push-Up Pull-Up are given below.
How often should I do push-ups, pull-ups, and squats?
Aim to include these exercises 2-3 times per week, ensuring you have at least one day of rest between sessions for muscle recovery.
What if I can’t do a pull-up yet?
Start with assisted pull-up options like resistance bands or negative pull-ups. Inverted rows are also a great way to build the necessary strength.
Are these exercises enough for a complete workout?
These exercises cover major muscle groups and can be a complete workout for most fitness levels. Advanced athletes may need to supplement with additional exercises for comprehensive strength training.
How do I avoid plateaus in my progress?
Keep challenging your muscles by increasing reps, trying advanced variations, and adding resistance over time.
Can I do this workout every day?
Allowing your muscles to recover is essential, so avoid doing the same workout daily. Alternating workout days with rest days or focusing on different muscle groups can help.
What’s the best way to warm up before this workout?
A dynamic warm-up with jumping jacks, arm swings, and leg swings is ideal for preparing your muscles for the workout.